Uncle George / Other Projects / Liz-Jim Wall-Hanging   Return to Other Projects
Return to Uncle George Home Page
The 50th Anniversary Present
It was Liz and Jim's 50th Wedding Anniversary, and I wanted to give them something personal and special. After a lot of ideas and thought, I came up with this idea for a wall-hanging.
 
At the right, is the finished product. As a quick overview: The X + Y = 50 at the top, was for Jim, who taught Algebra and Calculus at Upper St. Clair High School, and their 50 years of marriage. The large L & J in the center, are their initials over the outline of their home in McMurray. The bike is my connection with Liz. The buttons and hardware represent trees and bushes. Liz taught Cooking and Sewing at Canon-Mac, so I was trying to get a good grade for my sewing. (More on the sewing machine below.)
 
I'm proud that the wall-hanging was made mostly from supplies that I had on hand. The only items that I purchased for this, were the "5", the sheet of plexiglas, a spool of invisible thread, and the flag.
Click on each image to get a larger view.
  The Frame    
  The canvas is from a roll that I have had for more than 40 years. It is attached to canvas stretchers that I had to modify to get the correct size. That size was determined by the plexiglas sheet that is enclosed in a frame made from old baseboards.
Shoulder straps cover the frame and accent each corner. They are from many computer bags, attache cases, and luggage. All of them had supplied straps, that I never used (until now).
  The detail at the left shows how I used the strap's attaching hardware to connect them together all around the outside of the frame.
If you enlarge the photo at top right of this page, you will just be able to see the attaching hardware on both sides of the frame.
 
  The photo at the right shows the back of the wall-hanging. The 1 x 10 at the top, serves two purposes. It was needed to provide the backing for screws that attach the 'plus', the 'equal', and the '5' in the top equation. It also is used for attaching the hanging wire. Once the frame is added, this wall-hanging gets heavy. I didn't trust the canvas stretchers to be strong enough to support the entire weight.
The 1 x 10 is attached to the canvas stretchers with the same hardware that makes the 'plus' and the 'equal'.
 

The Design

Figure 1 below, shows my first ideas, when I was trying to lay out my concept. I was playing with different materials, to see if they could be used together.
In Figure 2, this early design has all of the components that I wanted to include. I took these pictures, so that I could refer back to them. As I added pieces to the canvas, I had to take everything else off of it., and work up from the bottom layers. There were many layers starting with the house outline. I didn't want to place any markings on the canvas, as I worked on it, because they would have shown up later.
The finished layout in Figure 3, is the final work without the frame attached. It was hard to get a good photo with reflections off the plexiglas.

Figure 1 - First Concept - February 23   Figure 2 - Early Design - June 11   Figure 3 - Finished Layout - July 3   The Equation
     
      The 'plus' and 'equal' are attachment hardware. The screws attach to a board mounted behind the canvas, as shown in the photo above under "The Frame."

The windows, trees, and bushes are represented by buttons and hardware from straps and buckles.
The Zippers  
The large and medium zippers are from some old replaced Jeep soft tops. Some zippers on the soft top, would get a lot of wear, and tended to come apart. So when I needed to replace the entire Jeep top, I scavenged any good zippers from the old top, for possible future repairs. I don't remember where the other zippers came from. If I was getting rid of something, I would save the zippers, buttons, straps, and hardware for maybe making something later.

The zippers were used to form the "L & J", the outline of the house, and the road/driveway. They also accent the front edge all around the frame.

The photo at the right shows the detail of the zippers sewn to the canvas. The hardware from strap buckles were sewn onto the canvas with invisible thread. Invisible thread is very hard to work with. You can't see it.!
 

The House

House Left Front - April 30 Center of Wall-Hanging House Right Front    
  I would like to point out that the road below the bicycle swings to the right and curves up onto the right front of the house, just below the flag. (The same as the driveway slopes up.) See photo at left.

It also helps to pull the design together.
 
  The Flag
  The flag was cut from the bottom of a July Fourth cupcake paper. I searched for a while to find a good image. I wanted a waving flag, not just a rectangular one.
The flag pole is a cotton swab, intended for cleaning disk drives and VCRs.
 
If you look closely at the enlarged photo, you can pick out the sewn zippers, the hand stitches holding the leather strips in place, and that the outside of the frame on the right is accented by large black zipper teeth all along its edge.
  The Bicycle  
  The computer software Disks are from the hundreds that I have accumulated from my different jobs. The bicycle is made up of 2 of these disks, a belt buckle, large buttons, collar stays, part of a key chain, and some buckling hardware.

  Liz had just made her own handlebar bag from blue material. I used a piece of my pool's solar cover.

The photo at the right, shows the back of the canvas behind the bicycle. The three buttons are held in place by the sticks from the cotton swabs, stuck through the button loops. When you enlarge it, you can see the white thread holding the collar stays in place.
 
The Sewing Machine  
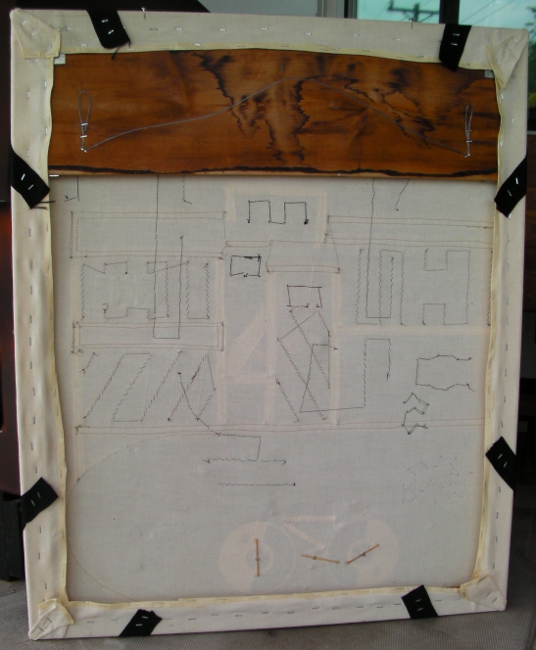
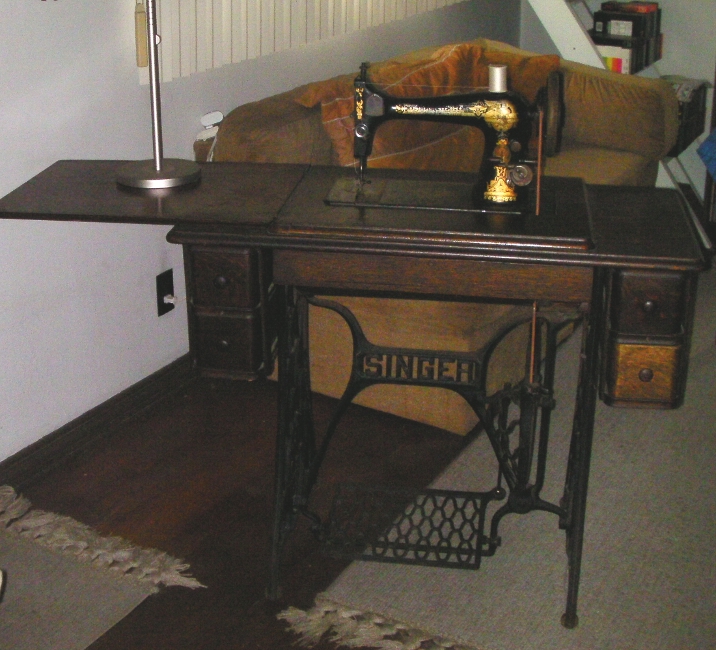
The zippers were sewn onto the canvas with my 112-year old Singer Sewing Machine. The machine was given to my grandmother as a hand-me-down in the 1930s. I contacted Singer with the serial number, B874419, and was told that it was manufactured at the Elizabethport factory in Elizabethtown, NJ on February 6, 1905. It is a Model 27, and 40,900 were manufactured during that month. I was able to download an Operating Manual that actually covers Models 27 and 28.
 
The sewing machine is treadle driven via a leather belt. I have had to replace the belt with one that I bought on the Internet. When I was growing up, I remember having to repair the belt when it stretched, or the ends pulled away. The ends are connected with a large metal staple that pierces the two ends of the belt. The sharp legs of the staple are folded tight against the belt to form a rectangle. The staple needs to crimp the belt ends tightly, so it will smoothly travel at high speed around the drive wheel and up to the machine head. I still used that same staple for connecting the ends of the new belt.
 
About 20 years ago, I had to replace a broken needle. When it broke, I was upset. I thought there was little chance of finding a needle that would fit this old machine. (That was before you could search for things on the Internet.) I was surprised that a nearby Singer Store had replacement needles. All of the other parts are original.

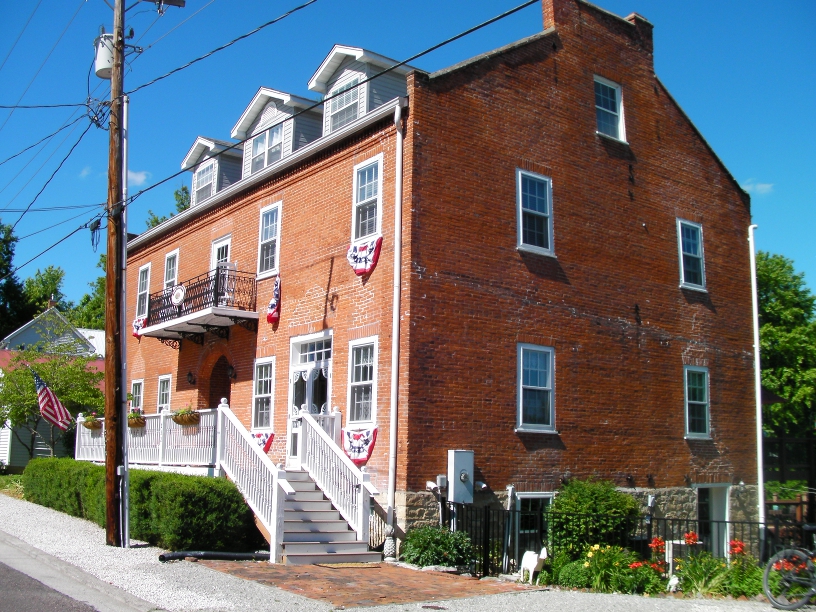
While I'm rambling on about the sewing machine, I have seen three other Singer treadle machines. One was in a display at Epcot Center, where they were showing household appliances from different decades. That was in June of 1986, during a family vacation to Disney World. The next one was during my 2015 Erie Canal Bike Ride. I saw it at the Chittenango Landing Boat Museum in Chittenango, NY on June 16, 2015 at one of our rest stops. The most recent was during the Katy Trail Bike Ride on May 25, 2017. It was in my attic room of the Red Brick Inn in Augusta, MO, where I stayed overnight.
 

The Final Comments

  Just a few more words. I started thinking about this anniversary present in January. Trying to form some idea about a unique gift for the party in July. I was happy with the final completion. It was received well at the party. The photo at the left is from their living room. (I selected the bold black format, because that was the predominate theme of many rooms in their home.)
At a recent visit, I noticed that the wall-hanging had been moved to their family room, where it still fits into the decor.
  I also included some instructions with this gift. A 2-page document, with illustrations, about how to remove and how to attach the frame to the main section. It is intentionally wordy and over explains every minute step.
Parts of it reflect the directions included with foreign products. It is formatted like the technical manuals that I worked on for 25 yeas at TCI. It was my attempt at a humorous ribbing, pointed at detailed instructions.
  To keep with the mixed media theme of this project,
I used the 'G' from an old key chain to sign the work.
It also serves to sign this web page.